If you're starting out in stop motion animation, building your own armature is a great way to learn the basics of puppet construction and character movement. An armature is essentially the skeleton of your stop motion character. The armature, like a skeleton gives your puppet structure and allows it to hold poses between frames. In this blog post, we’ll walk you through how to create a simple, functional wire armature using easy-to-find materials.
What You’ll Need:
- 2mm Aluminium Armature Wire
- Milliput
- Foam or Sponge – for bulk and padding
- Masking Tape – to bind and shape the form
- Pliers & Wire Cutters
- Drill or Pin Vice (optional) – for adding holes in your joints or feet
- Tie-Downs
Step-by-Step Guide:
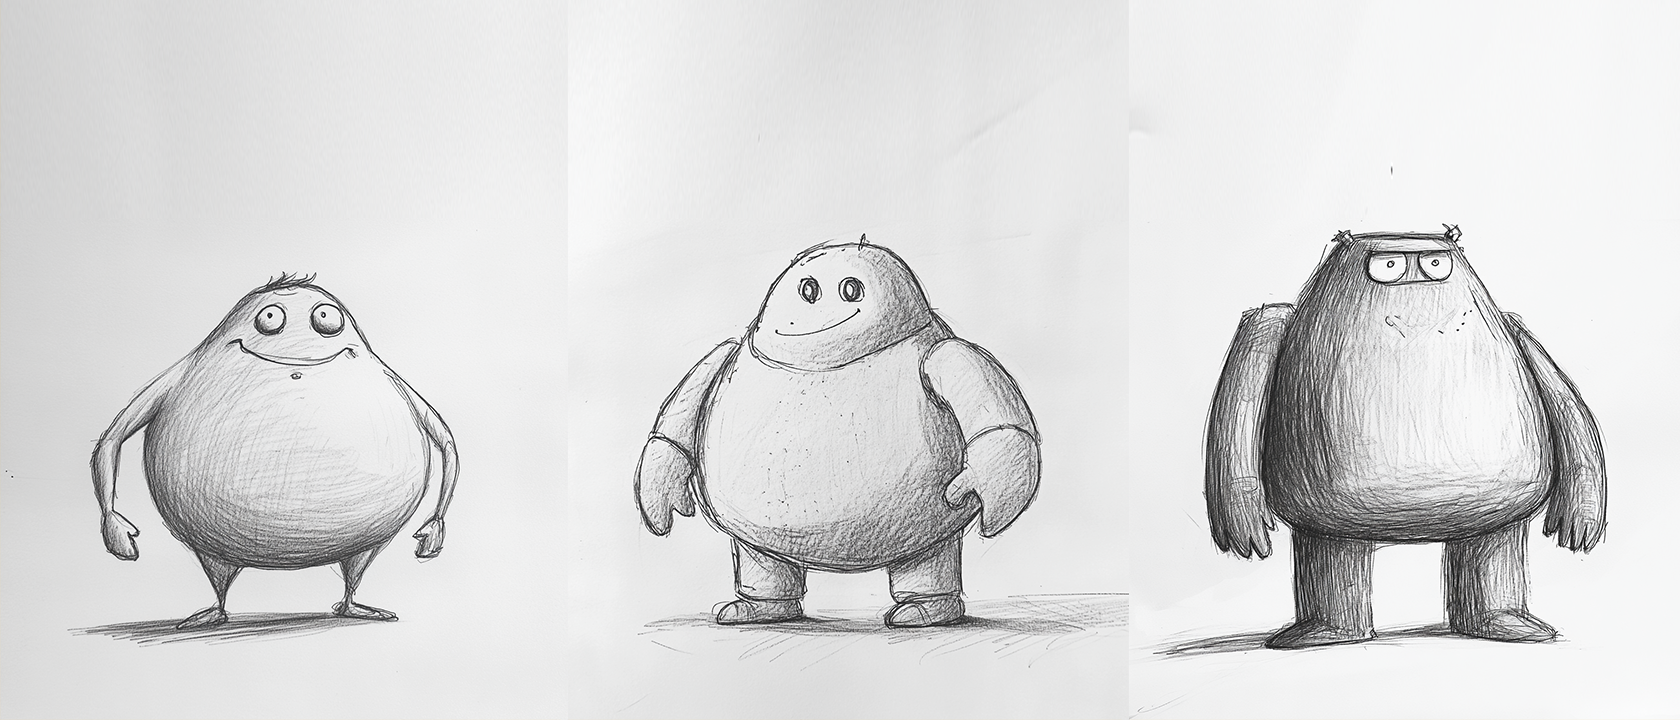
1. Design Your Puppet
Start by sketching a simple front-view of your character. Keep the limbs chunky and avoid thin or overly long arms and legs. These are harder to animate. Mark out the key joint points: shoulders, elbows, hips, knees, and ankles.
2. Cut and Shape the Wire
- Using your drawing as a reference:
- Cut one long piece of wire for the legs and torso
- Fold it at the hips and bend two equal lengths for the legs
- Use a separate piece for each arm
- Twist the wires together at the torso area for added strength
- Make a loop or small coil at the ends of the legs to form feet (or attach tie-downs if you want to secure the puppet to a base)
3. Bulk Up the Torso
Wrap some Milliput around the torso area. This helps hold the wire in place and gives the puppet a central structure. Smooth it out with water and let it cure as directed (usually 2–4 hours).
4. Add Padding
Wrap foam or sponge around the limbs to give your character volume. You can use small strips and bind them with masking tape. This also creates a nice surface for sculpting or adding skin layers later.
5. Make the Hands and Feet
For simplicity, you can use twisted wire loops for hands and feet. If you’re feeling more ambitious, sculpt basic mitten-like shapes from epoxy putty, or build fingers from thinner wire.
6. Optional: Add Tie-Downs
If you want your character to stand firmly on a set:
- Drill a small hole in the bottom of each foot
- Insert a nut and bolt so the puppet can be secured to an animation stage.
This technique is especially useful for walk cycles or action scenes.
Ready to Animate
Once your simple armature is complete and fully cured, you can begin animating or sculpt additional detail using plasticine or fabric clothing. This basic build is perfect for practicing key poses, walk cycles, and expressions.
Tips for Success:
- Keep proportions balanced: a low center of gravity helps your puppet stay upright.
- Test joint flexibility before you start animating.
- Avoid over-bending the wire repeatedly in the same spot as it will eventually snap.
- Practice with your puppet to get a feel for its movement limitations and strengths.
Building a stop motion armature by hand might seem intimidating at first, but it’s a rewarding process that teaches you a lot about character structure and movement. With a bit of patience and practice, your first wire puppet can be the beginning of something truly creative.
At Animation Supplies we offer everything that you need to make your own stop motion armatures. We have a range of components to make your own ball jointed armatures as your animations progress, which you can find here.
Happy Animating!


Share:
Custom ProPlus Rig
Puppet Making with Nuno Beato